Ultimate WP Multimedia Gallery Pro

Documentation version 1.0


Introduction

Congratulations on your purchase of Ultimate WordPress Multimedia Gallery from Webpuzzlemaster Digital Marketing Agency. This robust responsive plugin for mobile, tablet, laptop and desktop users in any WordPress site includes tools designed to drive engagement and website traffic, build backlinks, syndicate content, and get YouTube subscribers without losing contact with the website. Its conversion call to action button labels and links can be customized for each item of content in the gallery, making ideal for sales, opt-in list building, and appointment conversions. The following provides instructions on the installation and use of the plugin.

It is HIGHLY RECOMMENDED that you manage Gallery from a laptop or computer, rather than a mobile device. Please refer to this documentation for proper use of your plugin and troubleshooting issues prior to submitting requests for support.


Download and Installation#back to top

After purchasing Ultimate WP Multimedia Gallery WordPress Plugin, you can download, install and start using the plugin immediately

  • STEP 1: Download plugin to your computer.
  • STEP 2: Login to the WordPress admin of your website.
  • STEP 3: Go to plugins and add new.
  • STEP 4: Upload plugin as a zip file and activate.
  • STEP 5: Click on UWPM Gallery (in left menu of WordPress) to expand sections that include settings and galleries.


General Settings#back to top

These settings register your plugin on a single domain and define settings that apply to all galleries you create.


Purchase Code

Enter purchase code and click register button to activate. (You may also de-register your plugin and use it on another domain.)


YouTube Channel

Enter YouTube channel ID if you want visitors to be able to subscribe from your galleries.

  • Go to YouTube and under your picture select your channel
  • Select settings
  • View advanced settings
  • Copy the channel ID
  • Paste channel ID into the field.
  • Click on update
Social Media Hashtag

Enter your social media hashtag (name of your company without the # symbol or spaces) if you want to increase your company brand. This will automatically include that hashtag in all content you add in all of your galleries.


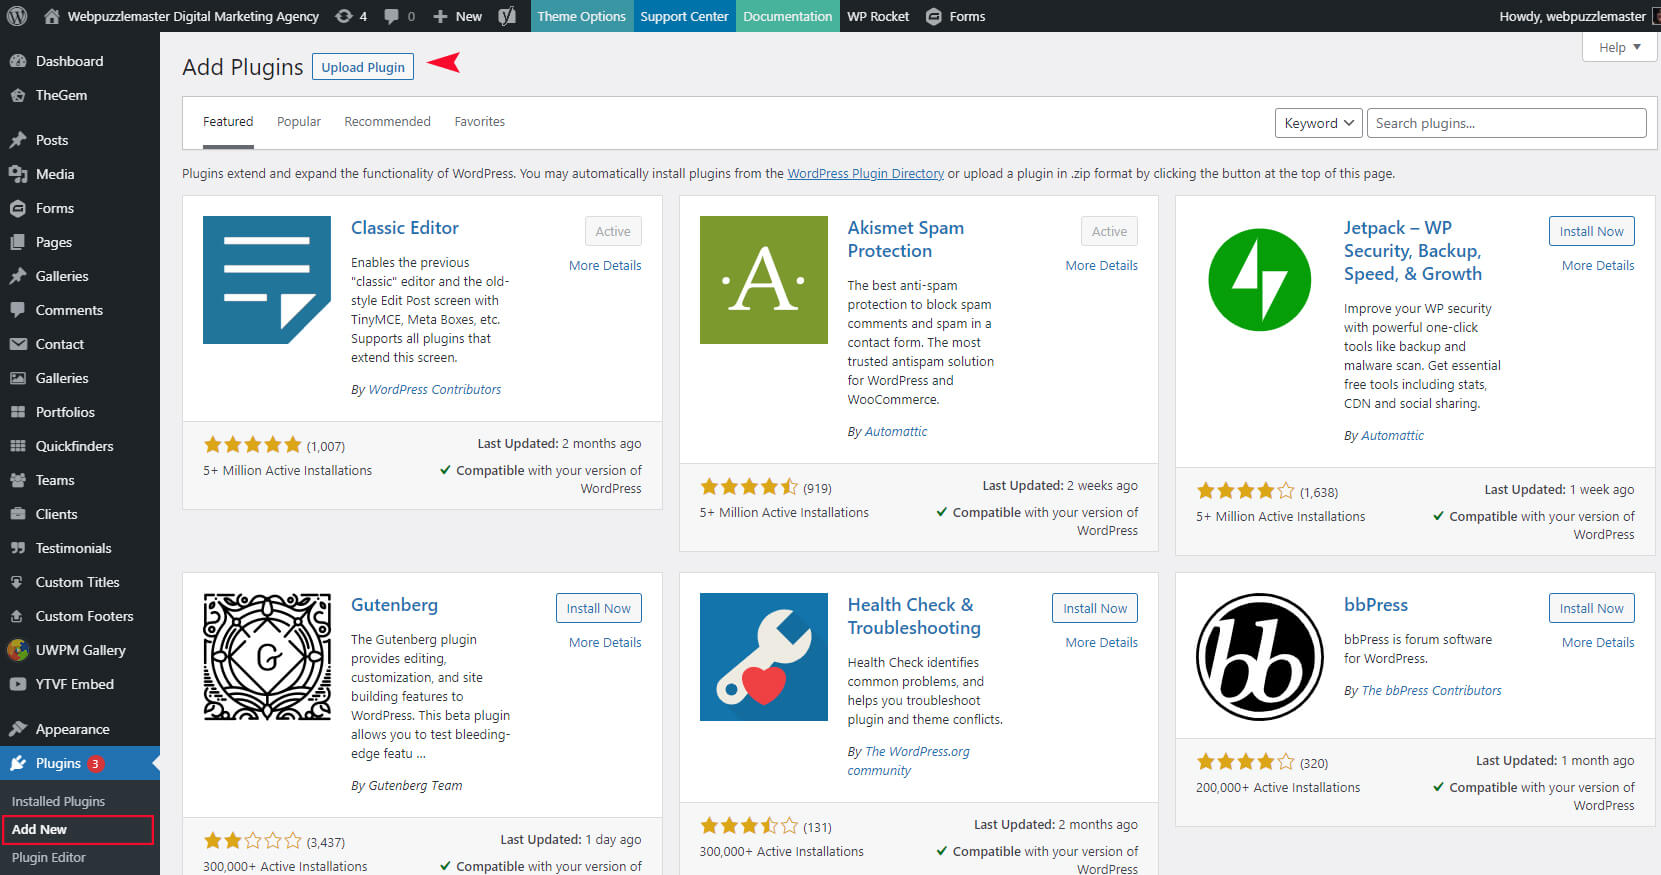
Create and Manage Galleries#back to top

Create one or more galleries to display on your pages or posts with shortcode. Each gallery you create has its own unique settings for layout, style, captions, filters, and colors. In settings, there is a button to Copy Style. Clicking this will display all galleries where you can apply the style. Be sure to click the update button when making any changes to your gallery.

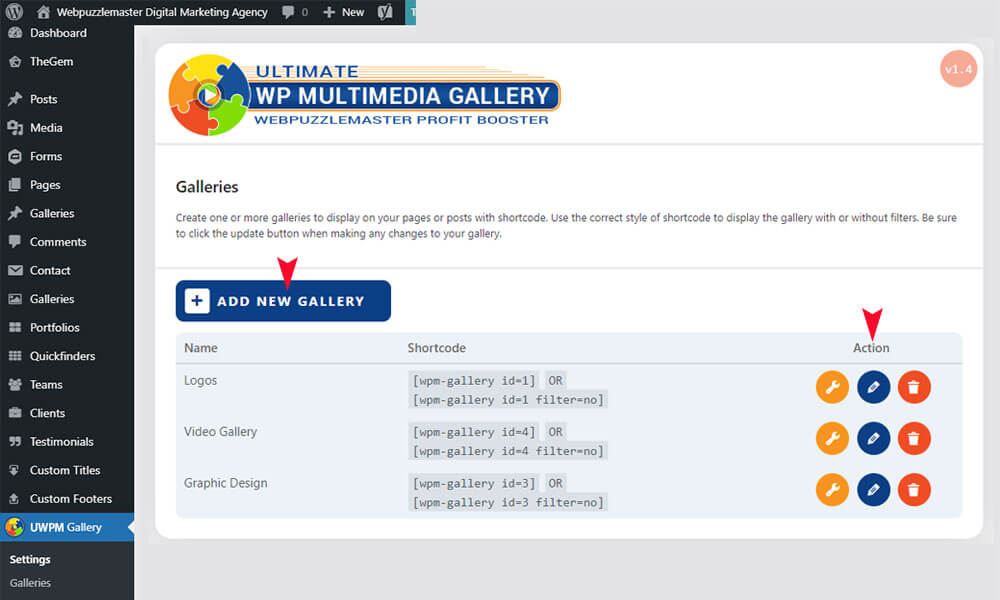
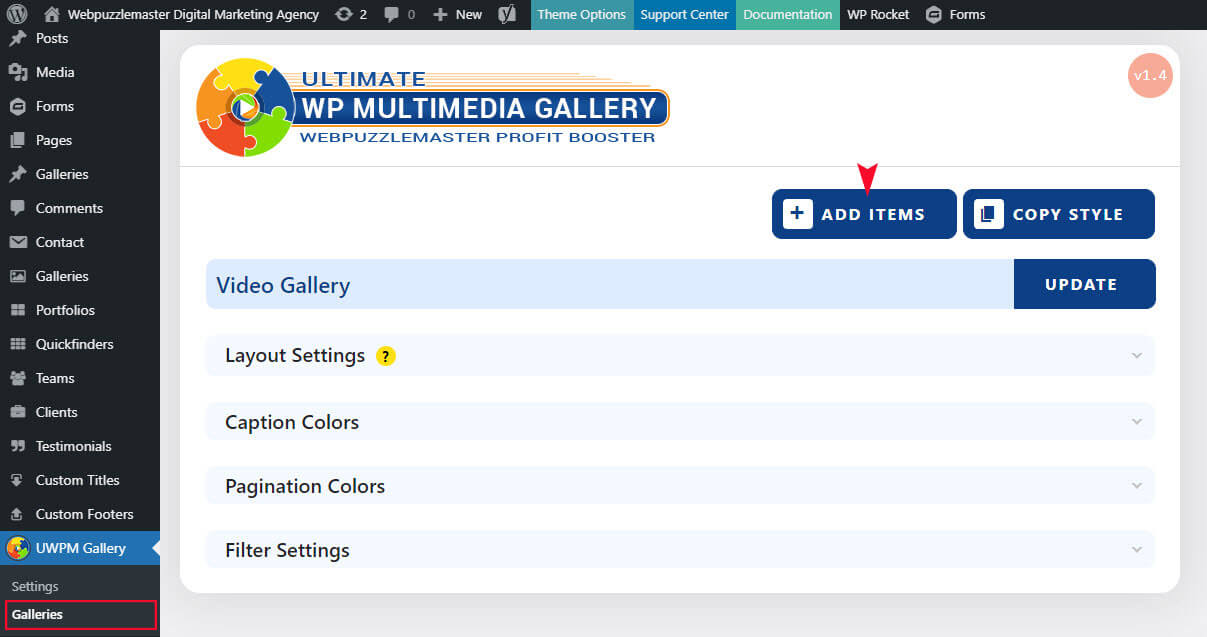
From the Galleries tab (under UWPM Gallery in left WP menu), you may manage existing galleries and add a new gallery.

Four options include:

  • Add New Gallery
  • Add/Edit Gallery Settings
  • Add/Edit Gallery Items
  • Delete Gallery

Give your gallery a name and click button to Create Gallery. Then return to galleries to view all galleries and manage your new gallery.


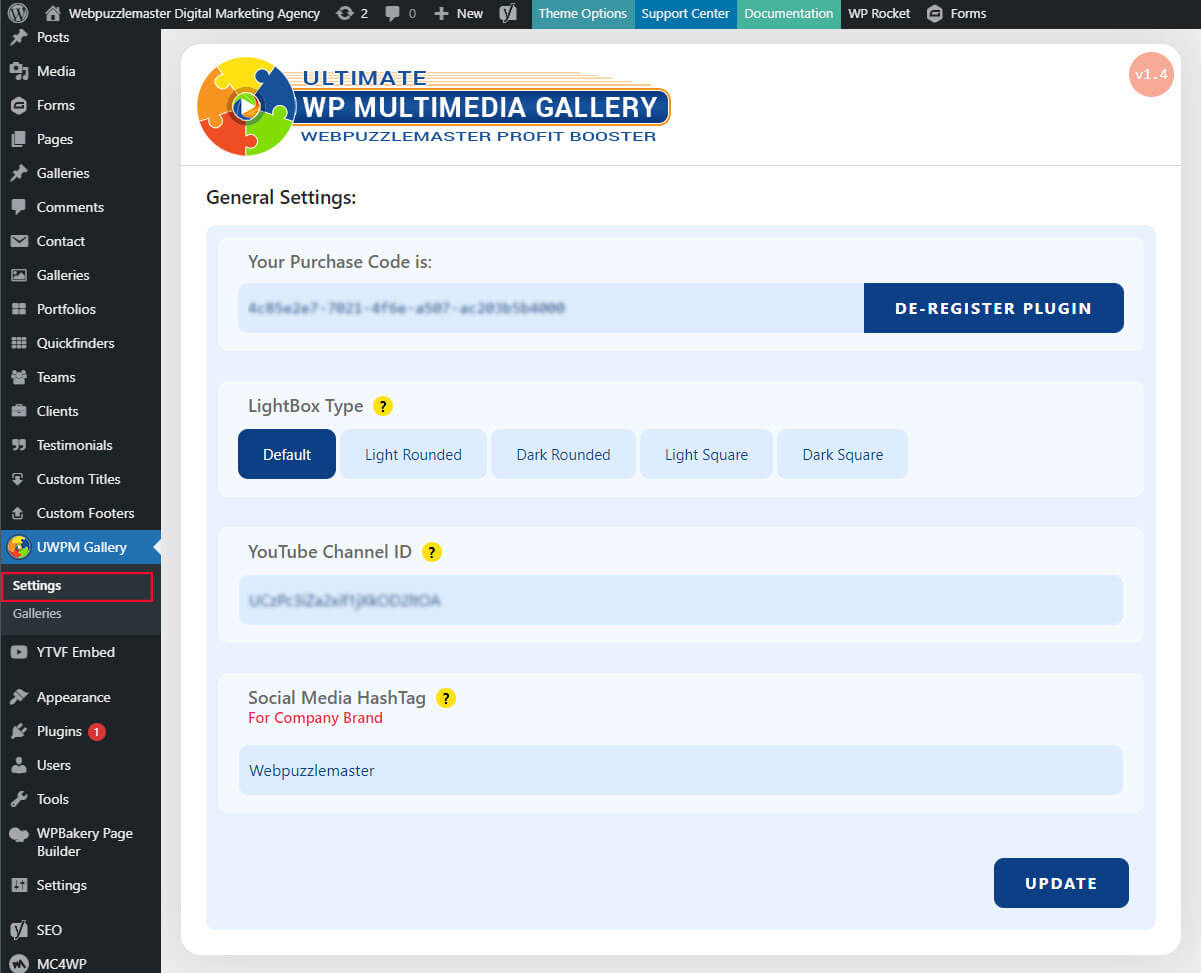
Click on settings for a gallery you want to manage. Gallery settings include four main tabs with settings for layout, caption colors, pagination colors, and filter settings.


Copy Style

The Copy Style button on the top right, displays all of your galleries with an option to copy the style from any of those galleries to the gallery you are editing.


Layout Settings

Layout settings include thumbnail style, item style, and content style.

Thumbnail Style

Choose Masonry for items with variable shapes and sizes. Choose Grid for items with consistent shapes and sizes.


More about layout and gallery content:

  • If content has a variety of shapes and sizes, the masonry style will allow you to display thumbnails without distortion and will be more visually appealing.
  • Choose masonry or grid layout for both images and video.
  • When using masonry, be sure to upload a full-size image. This will avoid large gaps between items in the front end.
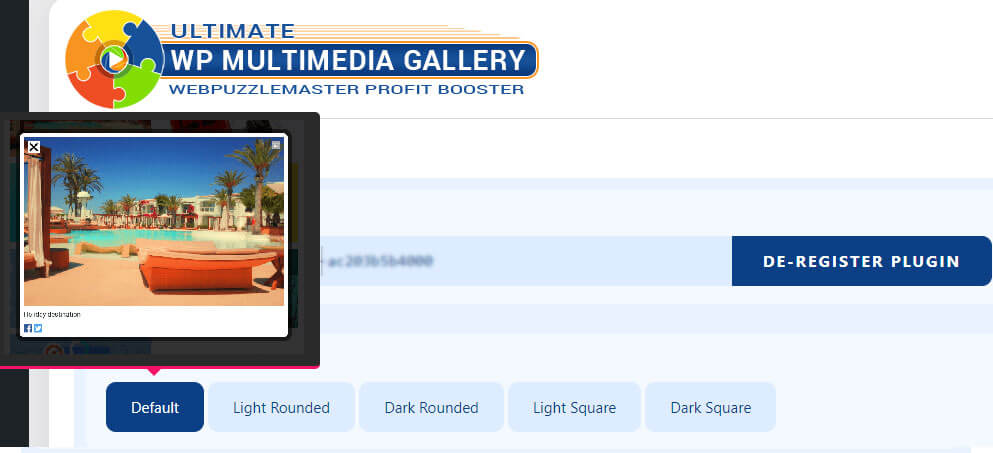
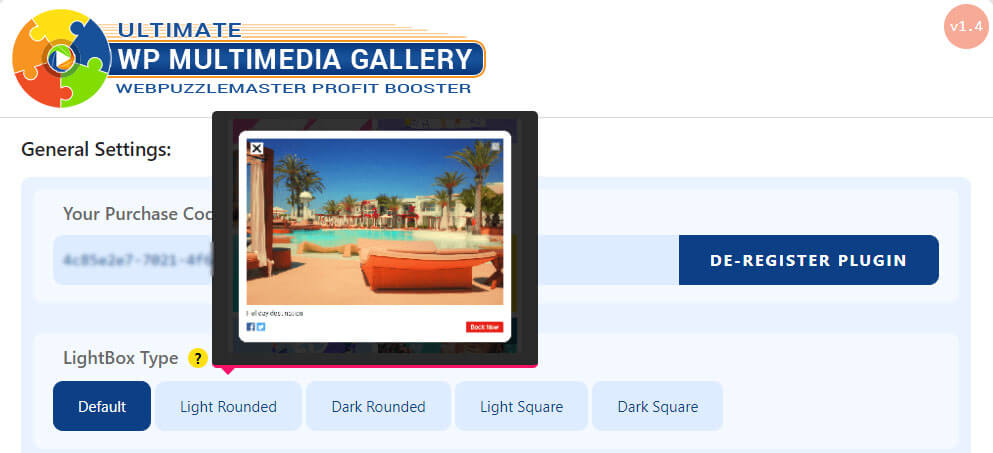
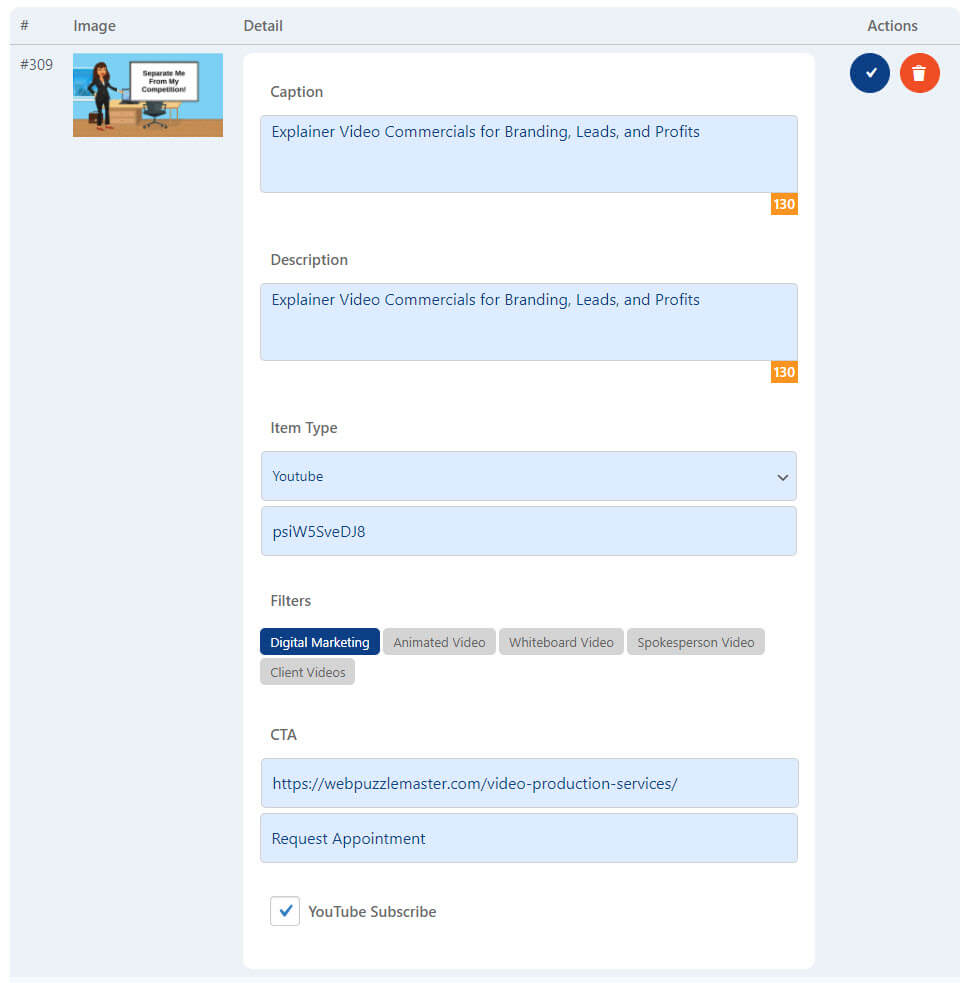
  • When embedding video, upload a HD custom thumbnail in your YouTube or Vimeo video settings. An alternative is to upload a 1280px x 720px image to the gallery. Then select YouTube or Vimeo with the video ID. This will display your video file in a lightbox when the image is clicked.
  • For vertical and square video sizes, upload an optimized large image to your gallery (with the same dimensions of the video) and select YouTube or Vimeo with the video ID to display your video file in a lightbox when the image is clicked.
Item Style

This defines the gutter gap or spacing between each thumbnail item within the gallery or filter. Choices include gutter, gutterless, and bordered.

Content Style

This pertains to how your caption displays on your thumbnail content.

  • Caption Style 1: caption displays on the bottom of the thumbnail on an overlay color.
  • Caption Style 2: caption displays on the entire thumbnail on an overlay color.
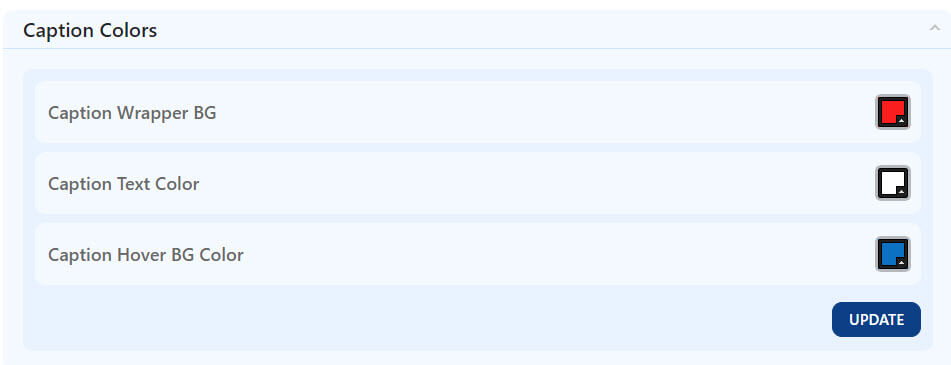
Caption Colors

Caption colors apply to the overlay colors for each thumbnail gallery item and are based on your content style selection.

  • Caption Wrapper BG
    Select a semi-transparent background color that applies to bottom caption style overlay.
  • Caption Hover BG Color
    Select the background overlay color for the style that covers your thumbnail items.
  • Caption Text Color
    Select the text color that displays on top of the overlay for either caption style.
Pagination Colors

Pagination will display with 21 items or more in a gallery or filter. When using filters, it is recommended that your pagination and filter colors are coordinated for a consistent look.

Filter Settings

Filters are optional for each gallery. Filter settings include alignment, colors, and create & manage filters.
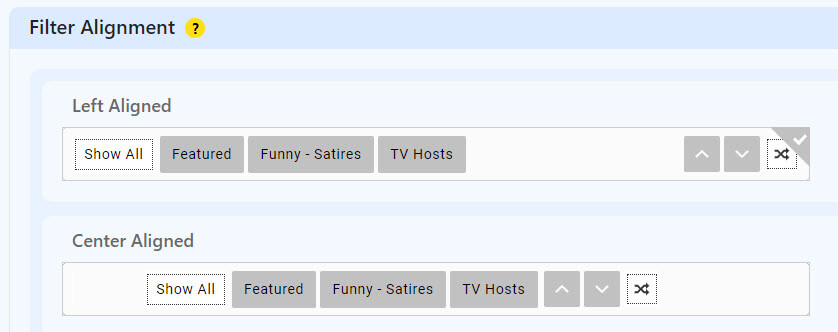
Filter Alignment

Select filters as either left or center aligned.

Filter Colors

Select filter colors for buttons and text including regular and active states.

Create and Manage Filters

Select filter colors for buttons and text including regular and active states.

  • Add a filter name and click the + Add Filter button to save. Repeat for additional filters.
  • Drag filters into the order you want them to display on the front end.
  • Select the default filter of content that will display when the gallery loads.

If you want to rename a filter, click the pencil icon to edit. Change the filter name in the blue bar and click + Update Filter button. Changes will be applied immediately in the admin and front end.


Add/Edit Gallery Items#back to top

Edit gallery allows you to add, edit or remove image and video content in your gallery. Go to Galleries in the plugin submenu to view all galleries. Then select the pencil next to the gallery where you wish to add, edit, or delete content. Be careful not to click the delete icon from the main galleries list as you will not be able to restore your deleted gallery.

Edit the gallery where you want to manage video or image content.

You can also add content from the + Add Items button on the top right of the gallery settings.

Adding Video Content

Click on add video button and wait for fields to load.

  • Add short caption that will display in thumbnail overlay on front end.
  • Add description that displays in popover below video when thumbnail is clicked. The description can be longer and should be engaging. You may also include hashtags for SEO.
  • Choose video type from dropdown as YouTube or Vimeo.
  • Enter YouTube or Vimeo ID
  • Select one or more filters where your video will display (if using filters)
  • Enter Call to Action (CTA) info that includes a complete link and the button text. This can be different for each content item in your gallery.
  • Check the YouTube box if you have added your YouTube ID in general settings and want to get subscribers to your channel.
Adding Image Content

Click on add image button and wait for fields to load. When adding images, you have the option to show an enlarged image or a video in the popover when the thumbnail is clicked.

  • Add short caption that will display in thumbnail overlay on front end.
  • Add description that displays in popover below image or video when thumbnail is clicked. Description can be longer and include hash tags for SEO.
  • Choose image or video type from dropdown (YouTube or Vimeo). If video, enter YouTube or Vimeo ID.
  • Select one or more filters where your image or video will display (if using filters)
  • Enter Call to Action (CTA) info that includes a complete link and the button text. This can be different for each content item in your gallery.
  • Check the YouTube box if you have added your YouTube ID in general settings and want to get subscribers to your channel. This is a good strategy regardless of whether you are linking to images or video.


Add Gallery to a Page#back to top

  • Click on the gallery tab.
  • Select the shortcode for the gallery that you want to add. Use the correct style of shortcode to display the gallery with or without filters.
  • Shortcode can be entered in a text field or in an HTML element.